

When a customer buys an item or makes a return, it’s important to know how to make a receipt for them. A sales receipt is proof of purchase and is recorded for accurate inventory.
At tax time, business expense receipts document claimed expenses. Receipts are also helpful because they speed up returns, which is a $850 billion problem for retailers.
Regardless of the type, receipts are valuable in maintaining accurate records and tracking the success of your business. This guide breaks down what a receipt should include and shows exactly how to create and customize receipts in Shopify.
What is a receipt?
A receipt is a printed or digital record of a transaction that acts as proof of purchase. It confirms what was bought, when it happened, and what was paid, including taxes and discounts, and how it was paid. That way, customers can verify prices and businesses can track sales, returns, and inventory.
There’s no one federal law that requires a business to hand a customer a receipt for every sale, but states may require you to keep detailed records for sales tax, so look into your local compliance laws.
Why are receipts important?
Retail receipts act as a record of your transactions, which help you understand your business’s sales volume. The point-of-sale (POS) system you choose will determine whether you can offer physical and digital receipts to your customers.
Receipts are necessary for several reasons:
- Returns and exchanges. Receipts make it easier to issue returns or exchanges. If a customer tries to make a valid return without one and is denied a refund, you might lose them as a customer for good. Many positive shopping experiences hinge on this basic practice and procedure.
- Tracking sales. Receipts track which products or services your customers purchase most often. This data helps you tailor your business offerings to best suit your target market.
- Basket size. Basket size is how many items of a specific product you sell. From there, you can assess which products generate the most revenue and lean into them in your marketing campaigns.
- Bookkeeping. Receipts help document business sales and revenue for profit and loss statements.
- Business taxes. If the IRS audits your business, they’ll want to see your receipts for transactions. Copies of receipts issued to customers prove how much money your business brought in—and when. Receipts also document the sales taxes a customer paid in the transaction, as all but five US states (Alaska, Delaware, Montana, New Hampshire, and Oregon) have state sales taxes. A receipt should clearly outline the taxes paid as a separate line item.
When to issue receipts
Receipts aren’t always issued after a sale. There are a handful of times when your staff can hit Print or send it online in a retail operation.
During regular sales and services
- At checkout, as soon as the customer pays, whether at the counter or online.
- If you’re doing an install or custom project, hand over a receipt once the work is finished and the payment is cleared.
Payment plans and deposits
- If a customer pays a deposit or partial amount, give them a receipt there and then. It keeps things clear so nobody later argues over who owes what.
- When a layaway or split payment is cleared, issue a final receipt showing the total amount paid.
Returns and exchanges
- Provide a receipt showing the amount the customer received during a return, the payment method, and the date. It’s a good way to shield yourself from disputes.
- Issue a receipt for exchanges that shows the item brought back, what the customer took home, and whether they ended up paying more or received a partial refund/store credit.
Receipt vs. invoice: Key differences
An invoice is a request for payment, and a receipt is confirmation of a payment.
So, you’ll send an invoice before you have the money. It tells the customer what they owe and how to pay it. After a customer pays, the receipt is your way of saying, “Thank you for paying.” It’s official proof that the deal is done.
| Invoice | Receipt | |
|---|---|---|
| Goal | Get paid | Confirm payment |
| Timing | Send before payment | Sent after payment |
| Common uses | Wholesale, custom orders, deposits, and services | Checkouts, returns, tax proof |
| Message | “Here is what you owe.” | “Transaction complete.” |
Many businesses that sell to other businesses use both receipts and invoices. Companies and vendors will sign a contract with detailed deliverables and agree to a payment schedule.
Once the deliverables are approved by the company, the vendor will issue an invoice that the company may pay on a net-30 basis, or as agreed in the contract. The company will also need both to give to their accounting department to get the payment approved and show they’ve spent the money.
What to include on a receipt template
You can expect to see a variety of information on a standard sales receipt in retail:
- Company details. This includes your business’s contact details, including company name, business address, phone number, and email address.
- Purchase information. Purchase information outlines a description of the product or service, the associated stock keeping unit (SKU), and the quantity of items purchased.
- Payment details. Receipts should outline the price totals, the amount due for the purchase, and the customer’s payment method.
- Purchase date details. This includes the purchase date and time, and, sometimes, the name (or employee number) of the associate who rang up the customer.
- Receipt number. A receipt number is the unique identifier associated with the purchase. Some merchants prefer that their receipt numbers begin sequentially throughout a workday or week.
- Subtotal before tax. Include a pre-tax subtotal so the receipt offers a distinction from taxes and products/services total.
- Tax amount and tax rate (where applicable). State tax agencies expect sales records to show what was sold, taxable versus nontaxable charges, and the tax applied to the sale.
- Discount information (if any). If a discount code or promotion was used, add it to the receipt so the final price can be reconciled later.
- Tip line (if applicable). If tipping is a thing in your business, include a tip line and tip amount on the receipt.
- Return policy summary. Add a short return policy note with the time window and basic conditions in the footer. It’ll be easier for customers to reference if they need to make a return.
- Purchase Order number. If a B2B buyer paid under their assigned PO number, include it on the receipt to aid their accounting team in record-keeping.
If the receipt shows card details, federal law says you must print no more than the last five digits of the card number, and not to print the expiration date. This is sensitive customer data and must be protected to reduce the chances of fraud.
Depending on the state, other regulations and statutes may apply, including how sales tax is presented per sale. Check your state’s tax rates and item exemption rules to understand their impact on your business.
Receipt types for ecommerce businesses
In ecommerce, you can issue receipts for various events—like when a payment is captured, a refund is processed, or a subscription renews.
Since you aren’t handing a physical slip of paper to a customer, though, your receipts have to work twice as hard to be clear and trustworthy. They are usually delivered via email, where inboxes can pile up quickly.
The most common types of receipts in ecommerce are:
- Order confirmation. This is sent immediately after checkout to confirm you got the money, and the customer will receive their order.
- Refund receipt. If the customer initiates a refund online, this receipt confirms the return was accepted, and the money will be refunded. Always include a note that banks may take three to five days to issue the refund, or you will get an email in five minutes asking where the money is.
- Renewal receipt. For recurring subscription orders, send a new receipt every time a charge occurs.
- Digital product receipt. This serves as an access point after customers purchase a digital product, such as templates or an ebook. It confirms payment and offers the download link and/or login instructions in the same view.
To keep your books and customers happy, digital receipts should include:
- An order number that never changes, even if the order itself doe.
- Itemized totals for price, shipping, and taxes
- The card or mobile wallet used
How to make a digital receipt
A digital receipt is an electronic proof of purchase that’s sent either by email or text message.
In a growing market projected to reach $293 billion by 2030, retailers use digital receipts because they’re more convenient than paper receipts (which often get lost). They also offer a way to collect customer data for future retargeting and are key to helping your business go paperless.
Here’s how to make a digital receipt:
1. Choose a digital receipt template
Whether you use a free online receipt generator or a template, adding business details to your template can save time down the road.
A free receipt generator is a straightforward and cost-effective way to swiftly and simply issue receipts. Plus, if you have a lot of SKUs, it can be a time-saver. Use software like Microsoft Word, Microsoft Excel, and Canva to get a free cash receipt template you can customize each time you’re making receipts.
If you use Shopify, customize your digital receipt template by going to “Point of sale” under the Sales channels tab in your Shopify admin. Click “Receipt customization” and use the design features to add a custom logo, change the header, and add extra order information.

2. Add your sales information
At the time of sale, add the changing details to a receipt, such as the grand total due, number of items sold, SKU, and card information for credit or debit sales. For your convenience, and your own records, it’s a good idea to include a receipt or invoice number to help you track the sale. Shopify POS can add this information automatically.
3. Give the receipt to your customer
Digital receipts also turn a one-time transaction into a follow-up opportunity. Customers can choose to receive a receipt via email or text at checkout, which is a natural way to attach the purchase to a customer profile.
💡Tip: Digital receipts offer a streamlined way to capture customer emails at checkout. Shopify can match this data with Shop Pay accounts to enrich the data you have on customers and offer omnichannel experiences at scale.
Jewelry brand Little Words Project has used this Shopify POS feature to increase in-store email capture rate by over 20% on average. It’s increased the percentage of POS orders with a customer email added and marketing opt-in by 33% across all its stores.
“Email capture at checkout helped us see the highest email capture we’ve had in some time,” says director of stores Martin Hogan. “We’re now able to connect the dots in customer data and between in-store and online shopping. With Shopify, we can finally create a truly fluid and personalized omnichannel experience.”

How to make a paper receipt
Prefer to issue physical receipts? Each POS device will have slightly different methods for creating receipts, but the basic steps will be similar across the board. For this guide, we’ll use the Shopify POS app to illustrate the different steps of creating paper receipts in-store.
1. Choose a receipt printer
The first step in creating receipts is to find a printer system compatible with your POS.
There are three main options to consider:
- Regular paper and ink
- Carbon paper and pressure
- Thermal paper and heat
POS vendors usually offer printers that work with the checkout system, because trying to find a compatible printer on your own can be very frustrating. The Shopify POS hardware store, for example, offers various printers with different connectivity options that seamlessly integrate with Shopify POS.
2. Pair the printer with your POS
Shopify POS allows Shopify members to seamlessly create custom printed receipts. After a purchase, you can share receipts via SMS text or as emailed digital receipts.
First, connect your printer to the power supply and plug it in. Depending on the type of printer you’ve chosen, you can connect it to your POS via LAN, Wi-Fi, or Bluetooth.
Once connected:
- In the Shopify POS app, go to “Home,” then “Settings.”
- Choose “Manage Connected Hardware.”
- Choose “Receipt printer” from the options.
- Tap through the prompt screens to connect your hardware.
- Select “Test Receipt” to verify that your printer and POS have successfully been paired.
- Tap “Done.” You should see your printer listed under Receipt Printers.

3. Create a customer order
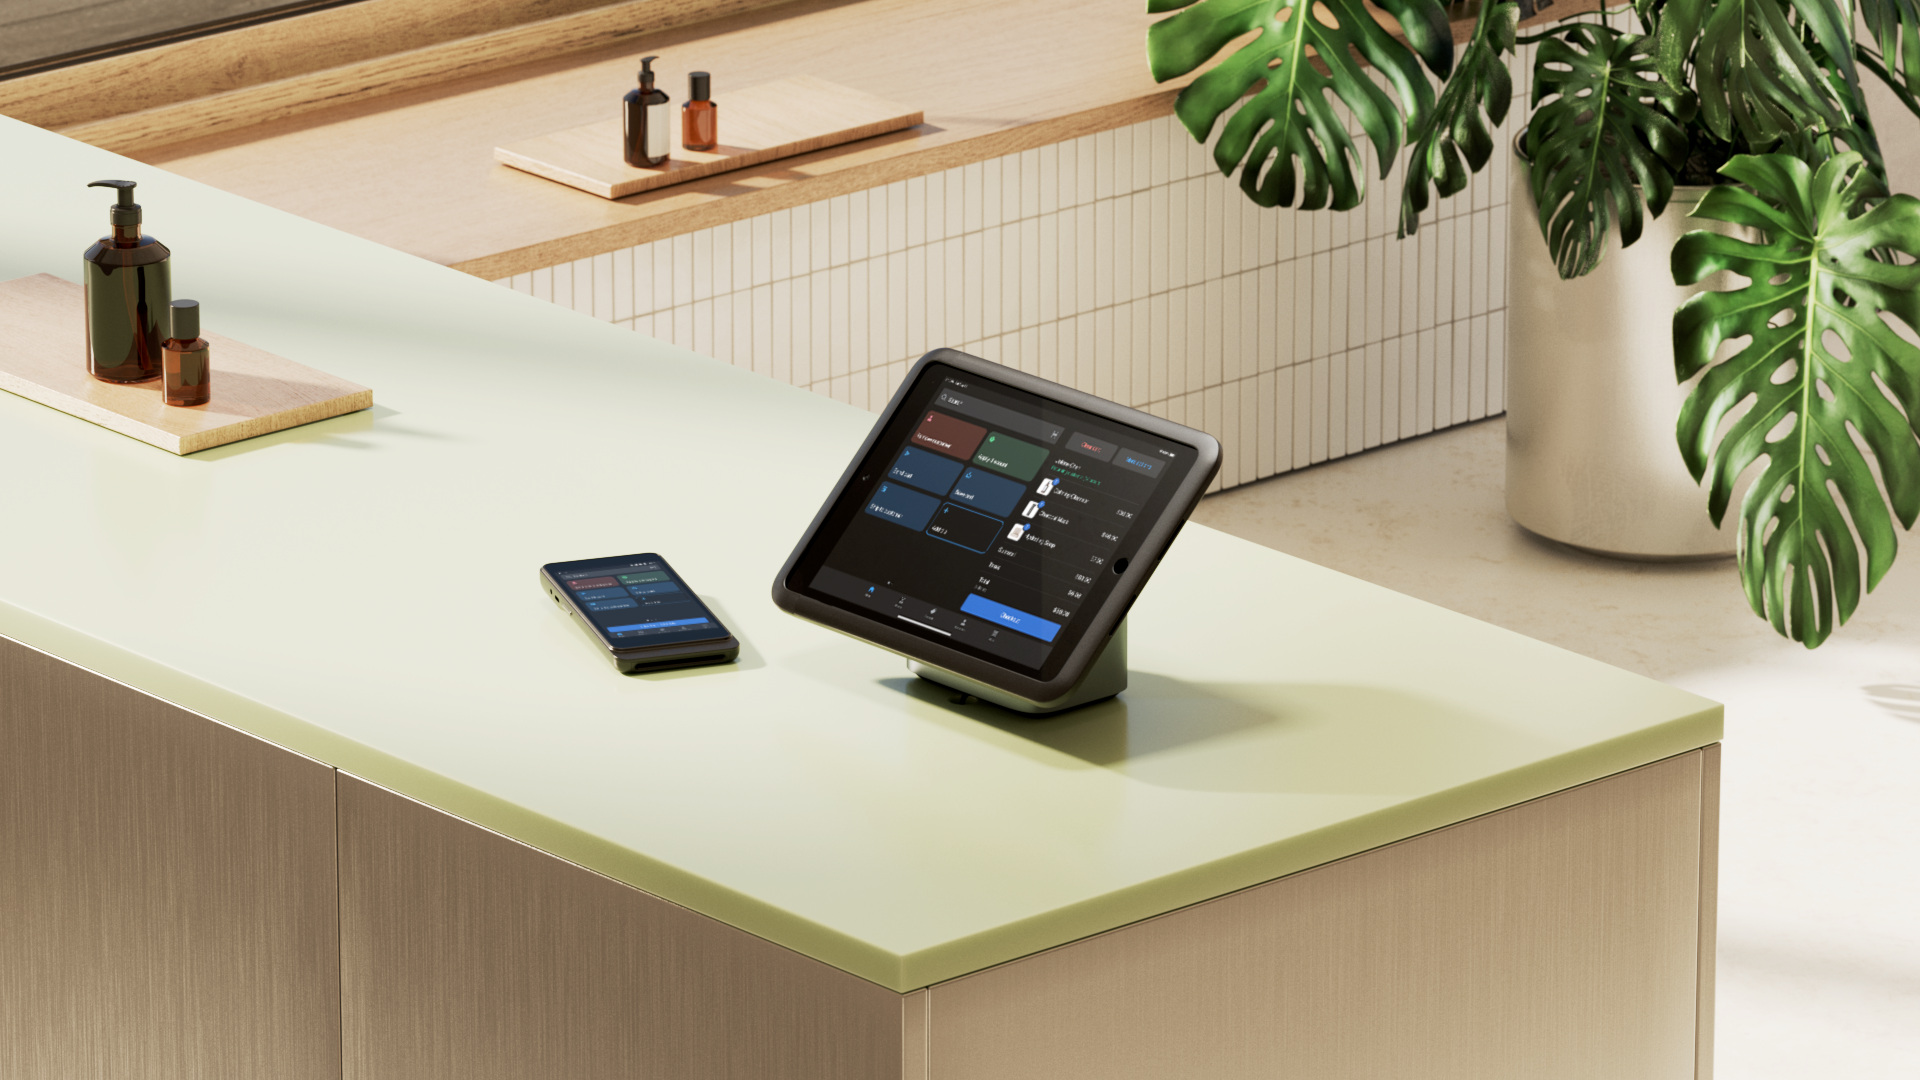
After you log in to the Shopify POS, you’ll be presented with the home screen. This layout is called the Smart Grid—a dashboard of tiles that let you complete common POS tasks without excessive clicking.
There are multiple ways to add products to a customer’s order with Shopify POS:
- Search for them by name using the search bar at the top.
- Tap on Products at the bottom and choose from a list of products you’ve added to the system.
- Use an integrated barcode scanner.
Once you’ve added all the items for your customer order, tap on “Checkout.” Choose the payment method and follow the prompts to complete the sale.
💡Tip: Because Shopify natively unifies POS and ecommerce on the same platform, you won’t need to waste time importing data—including product names, prices, discounts, and taxes—into your POS system. It all happens automatically, and any adjustments update in real time.
4. Generate receipts automatically
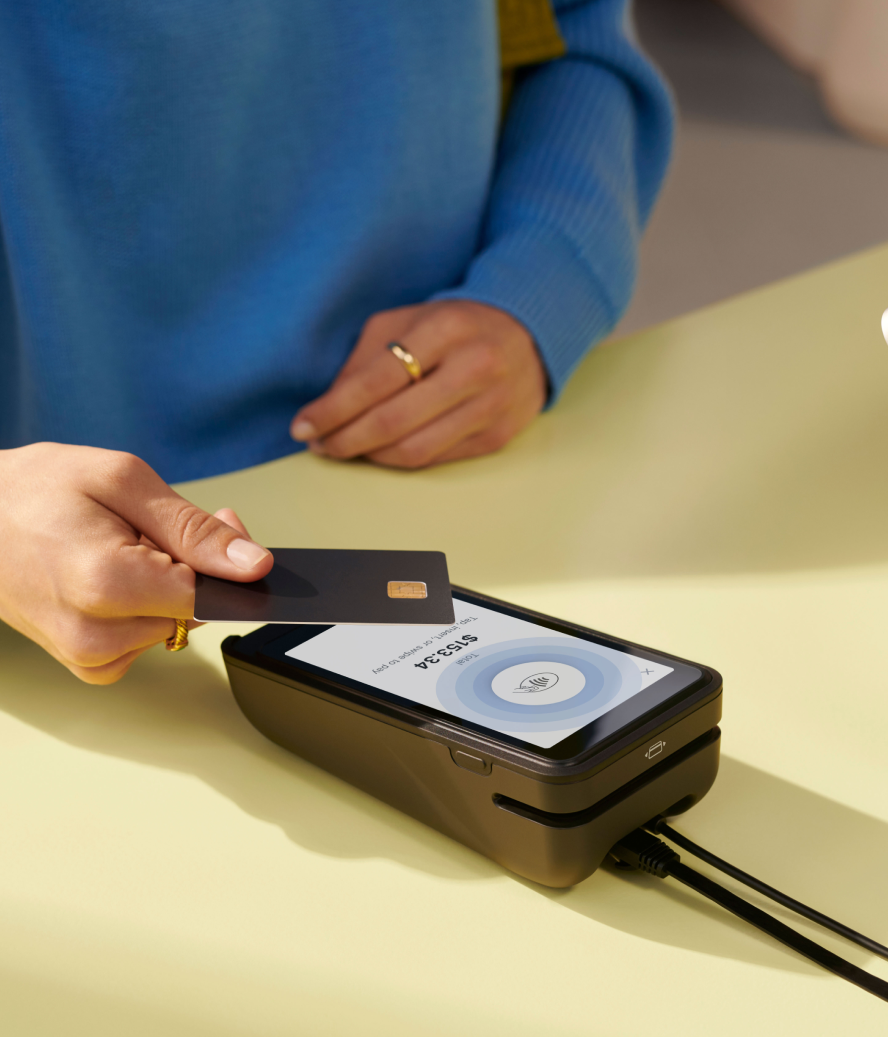
Once the sale has been completed, you’ll see a screen on your Shopify POS device that says “Payment successful.” There, you’ll have the option to print, text, email, or offer a gift receipt to the customer.
If in-store shoppers want a digital receipt, this is a good opportunity to collect information like their email or phone number. Shopify will create a unified customer profile using this first-party data. That will pool any future information you collect on them—such as loyalty points, orders they’ve placed, or emails they’ve opened—in their unique profile.
You can also set up your Shopify POS to print paper receipts automatically. In a busy store, this will allow you to skip having to select a receipt option after every sale. Make sure your printer is turned on and connected to your Shopify POS.
Then in the Shopify POS app:
- Go to “Home.”
- Choose “Settings” and “Printed receipts.”
- Activate “Automatically print receipts.”

Create automatic receipts with Shopify POS
As a retailer, you are strongly encouraged to keep a copy of all receipts. Without them, you won’t be able to document the profit and loss of your business accurately. And if there are any inquiries into your business by the IRS, your receipts show what you sold and when.
The receipt creation process no longer has to be a manual process that elongates checkout queues. From creating receipts to sending them via email or printed paper, you can do it all on autopilot with Shopify POS.
How to make a receipt FAQ
Can receipts be created without a POS system?
Software like Microsoft Word, Microsoft Excel, and Canva have free receipt templates you can use for your business without a POS system. You create the receipt, print it as a PDF file, then issue it to the customer. Shopify merchants can streamline this process by sending automated receipts from their ecommerce platform and POS system.
How do you write a receipt manually?
- Create a receipt template.
- Label the document as a payment receipt.
- Add the products a customer has bought.
- Blur the customer’s payment details.
- Issue the receipt to the customer.
What information is required on a receipt?
- The word “receipt”
- Date and time of purchase
- Business information, including tax details
- Products or services bought
- Purchase method (e.g. in-store or online)
- Payment method
- Receipt number
What is the difference between a receipt and an invoice?
An invoice requests payment before the customer pays. It shows what’s owed and the payment terms. If it’s a digital invoice, it may also offer options to pay right from the invoice with a card. A receipt is issued after payment is received and confirms what was paid, how, and when.
Which apps can create receipts?
Shopify can generate automated receipts for every customer order. Alternatively, you can use online receipt maker apps such as Orderly Print, Sufio, or Invoice Hero.