One of the major benefits of using a language like Liquid is that this highly flexible templating language allows developers to be creative and display information in new and interesting ways. Math filters are a perfect example of this philosophy, and can be used by developers to apply calculations to output specific information.
Math filters have been around for a while, but their potential is a little underused. These filters unlock a range of options, allowing designers to display info on price reductions, transaction fees, taxes, and more.
With careful use of multiplication, rounding, and other math filters, you can add new functionality into a client's site and help boost conversion. In this article, I’ll outline how math filters work and explore some real-life examples to show how you can start implementing them in your development stores today.
You might also like: How to Manipulate Images with the img_url Filter.
Math filter basics
As with any Liquid filters, math filters are simple methods that modify the output of numbers, strings, variables and objects. They’re placed within an output tag {{ }} and are denoted by a pipe character |.
Usually an object with a numerical output would be adjusted with a math filter, and could appear as such: {{ tax_line.rate | times: 100 }}. In this case, the math filter is times, which is multiplying the object, the decimal rate of tax, by 100.
A series of calculations can be contained within one string, which means an object that outputs a number can be multiplied, divided, subtracted, added to, and adjusted as many times as needed. This leads to diverse options, since there’s so much potential to display different types of information on your clients’ stores.
At the moment, there are 11 different types of math filters. You can see a breakdown of each one in our help center. Now that we know the basics, let’s take a look at some real-life applications of math filters!
Stringing along multiple math filters
Very often, clients will want to highlight special offers they’re running, especially in the run-up to BFCM. If developers can improve the visibility of special offers, it can have a huge impact on customer conversions.
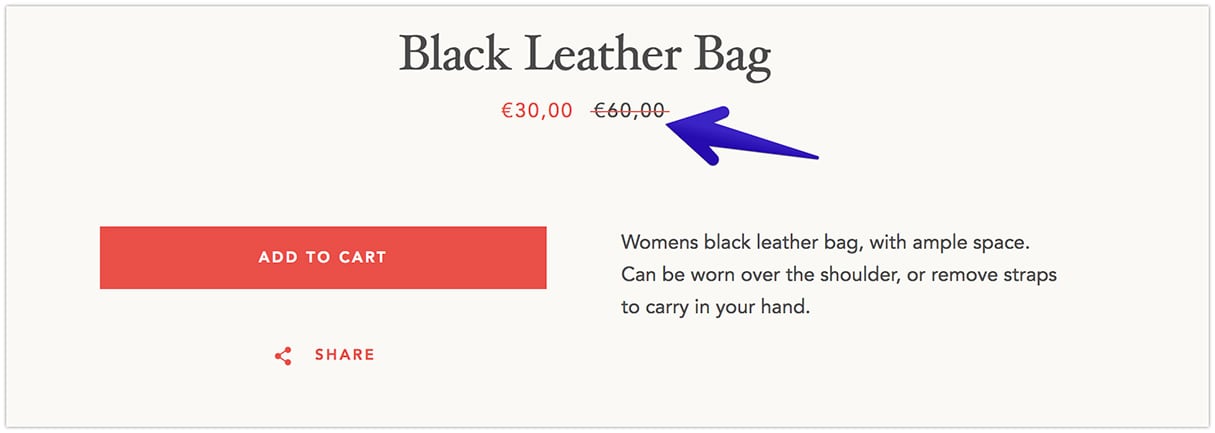
Thankfully, math filters can be used to enhance this experience by displaying the percentage saved , when compared to a product’s previous price. Another great thing is that this process showcases some of the most useful Liquid math filters.
The file that we’ll be adding Liquid and HTML to is the file that contains {{ product.price }}. If you are using pseudo-templates, and storing most of your product page code in a section, then {{ product.price }} could appear in a section file. Otherwise, you’ll add this to the product.liquid template file.
Once you’ve found the price object, you can decide where you would like the percentage saving to appear. In my case, I am customizing the Narrative theme, and I would like the percentage saving to appear on the same line as the price. To make that happen, I would add the code within the product__content-header container.

Both the product, and the ‘compare a prices are important here, as we’ll be using both objects to generate our saved percentage figure. The code to calculate this is:
{% if product.compare_at_price > product.price %}

<p>You save {{ product.compare_at_price | minus: product.price | times: 100.0 | divided_by: product.compare_at_price }}% </p>

{% endif %}
The first thing we see here are control-flow tags that check for a condition—namely that the ‘compare at’ price is greater than the product price—before executing the code that follows. This ensures that when a client is not running a special offer on a product, we won’t see any redundant output.
Next, we find a paragraph with the text ‘You save’ and a long line of Liquid that contains all our helpful math filters. As you can see, filters can be linked, and just like any other filters, are applied in order of left to right.
First off, the current price of the product is deducted from the compare at price, using the minus filter, which gives us the price difference. Next, this is multiplied by 100, using the times filter, and divided by the compare at price, using the divided_by filter, which gives us the final percentage reduction.
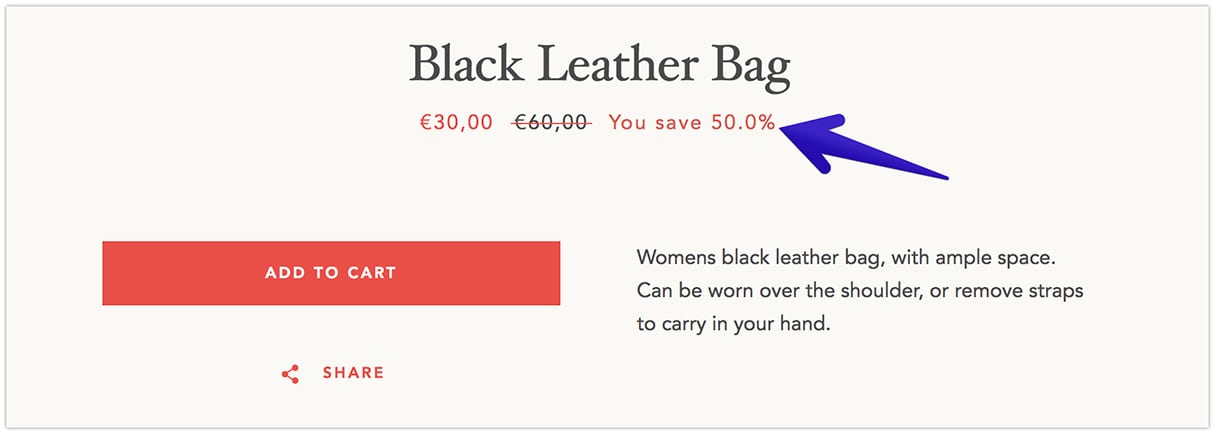
When this is added to the product-template.liquid section file, we would see this:

This is displaying the percentage saving, but it doesn’t look ideal, since a decimal place appears. I would prefer this to simply read ‘You save 50%’. Luckily, there’s another math filter we can add to remove the decimal.
If I add the round filter at the very end of the string, I will be able to round the output to the nearest integer, in this case 50. Once this is added in, the code would look like:
{% if product.compare_at_price > product.price %}

<p>You save {{ product.compare_at_price | minus: product.price | times: 100.0 | divided_by: product.compare_at_price | round }}% </p>

{% endif %}
Other math filters which could be helpful and remove the decimals, depending on the requirements of your clients, include floor, which rounds an output down to the nearest integer, and ceil, which rounds an output up to the nearest integer.
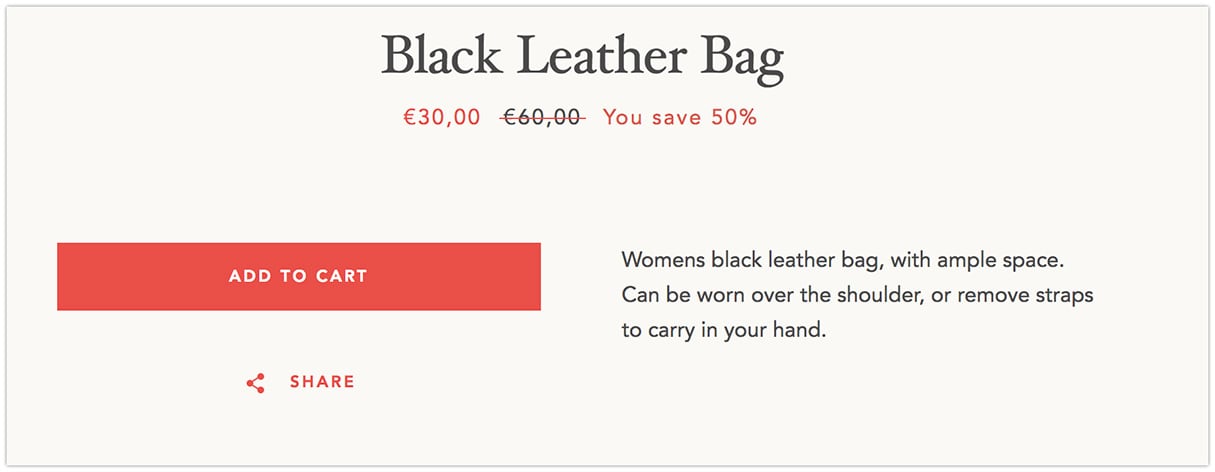
Finally, the product page would load like this:

As you can see, careful use of the math filters with numerical objects will allow you to generate different figures for your clients’ stores. Most importantly, math filters enable you to build functions as a string, combining the different filters, and finally arriving at your desired figure.
You might also like: Building Nested Navigations with Shopify Link List.
Playing with variables and filters
Another area where math filters can bring value to your client’s stores is where dynamic variables can be adjusted. Objects like customer.orders_count or discount.amount can be manipulated by adding, subtracting, multiplying, or dividing.
For example, your clients could be running a loyalty program where customers receive a point for every purchase. If a customer could see on a product page how many points they could gain from a new purchase , it could be an incentive to make a purchase.
To achieve this effect, we would apply math filters to the customer object, which is defined when a customer is logged in. Once a customer is logged in, properties like first name, number of orders, and customer tags can be accessed.
If we are looking to display a message on a product page regarding loyalty points, we could add our code to the product-template.liquid section, in an appropriate position. In my case, I would like the message to appear below the Add to cart button, so I would be adding the code below where the product-form is included.
Since a message should only appear when a customer is logged in, we’ll be using control-flow tags again to execute the contained code only in that circumstance. This would be the simple if statement: {% if customer %}.
Next, I can add the message that will appear for any customer who is logged in. The markdown with Liquid would appear like this:
<p> Hi {{ customer.first_name}}, make a purchase today to earn loyalty points and bring your total to {{customer.orders_count | times: 10 | plus: 10 }}. </p>In this case, each purchase counts for 10 loyalty counts, but that can be adjusted for however your clients organize their loyalty program. As we can see, the total number of orders a customer has made is captured, and the times math filter multiplies this figure by 10, before a plus math filter adds 10, to output how many points a customer would earn.
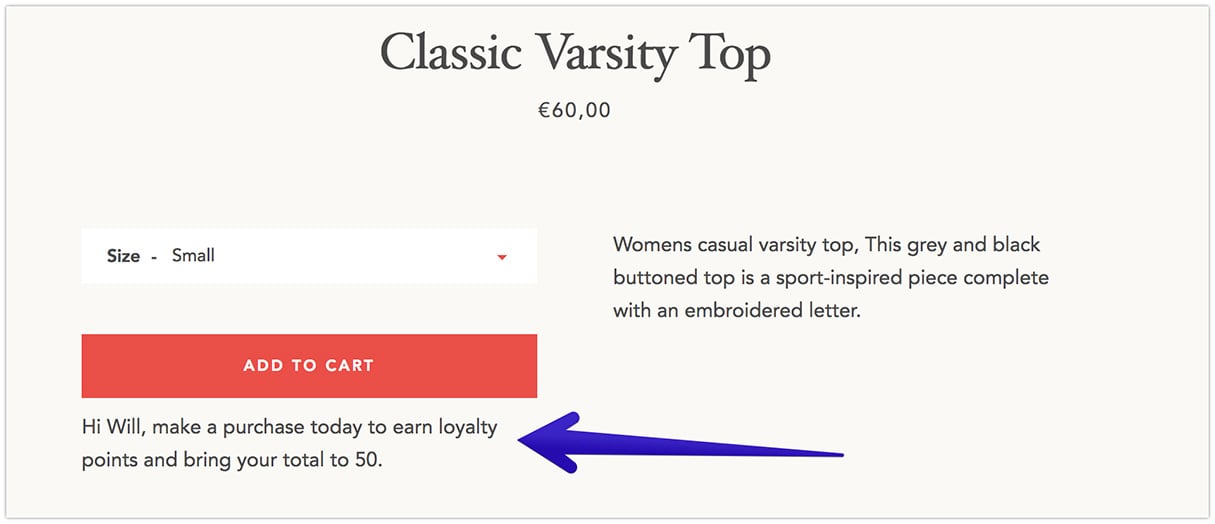
Once added to the product section file, the output would look like this:

Depending on your client’s unique set-up, you can use different math filters for different effects, or use more complex conditions to load more specific results. For example it’s possible to display what gifts or special offers are available when a customer reaches a certain threshold of loyalty points.
These Liquid filters can also be added to the order status page, to let customers know how many points they have collected. HTML and Liquid can be added to the ‘Additional scripts’ box on the Checkout Settings section of your admin, which will be displayed on the order status page.
Adding it up
Math filters are powerful tools for conversions, enabling you to display customer-specific information, sales data, and much more. By adding this additional functionality to your client’s themes, you can make a positive impact, and add some extra billable hours to your project.
Read more
- The Essential List of Resources for Shopify Theme Development
- Introducing Online Store 2.0: What it Means For Developers
- How to Build a Shopify App: The Complete Guide
- How to Customize Content by Country with Shopify
- How to Use Liquid to Create Custom Landing Page Templates
- Working with Product Variants When Building a Shopify Theme
- How to Get Web Design Clients Fast
- 10 Essential Front-End Developer Skills to Help You Move Faster in Your Career
- Free Webinar] Developing with Shopify: Using JavaScript to Add Ecommerce to Any Website
Have you used math filters to improve your clients’ storefronts? Let us know in the comments below!

