

If you’re switching from Lightspeed to Shopify, you’re likely seeking unified commerce capabilities, more features, and improved efficiency.
But migrating an entire store and POS can be tough. There’s customer data to transfer, inventory to manage, and operations to maintain. That’s why we’ve created this roadmap to guide you through the Lightspeed to Shopify migration process.
Pre-migration planning
Build your migration team
Migrating from Lightspeed to Shopify requires a dedicated team to handle the move:
- Project Manager: Oversees the entire migration and keeps everything on schedule
- Data Specialist: Handles transfer of sales, customer, and product information.
- Shopify Developer: Sets up the Shopify store, Shopify POS, and integrates necessary systems.
- Operations Specialist: Manages inventory transfer, staff training, hardware installation, and developing new SOPs for POS processes.
Decide how to migrate your Lightspeed store’s content
Review your current Lightspeed content and see what’s worth keeping. Keep your best content and leave behind low or under-performing materials.
Consider migrating the following store data:
- Product
- Customer
- Historical orders
- Review
Choose how to migrate each type of content. Common methods include:
| Migration Method | Description |
|---|---|
| Copy paste | Copy the content from your existing Lightspeed store and paste it into your new Shopify store. |
| CSV import | Export your data into CSV files and import them to your new Shopify store. |
| Third-party migration apps | Use an app like Migrationpro. |
| Migration expert | Hire a Shopify migration services expert to complete your process. |
How to migrate from Lightspeed to Shopify
This guide will cover using CSV files to complete your migration.
1. Export your product data from Lightspeed
To move or manage your product list, you'll need to migrate the data out of Lightspeed first. This works for any Lightspeed system you use: X-series, E-series, or R-series.
X-series product data
- From your Lightspeed X-series admin, go to Catalog > Products.
- Click Export list.
- Name the file LightspeedProductDownload.csv, and then save the file to your computer.
E-series product data
- From your Lightspeed E-series admin, go to Catalog > Products.
- Click the Import or Export Products dropdown menu, and then click Export all. Or, select specific products and then click Export selected.
- In the dialog, select the Delimiter from the dropdown menu. Delimiters are used to differentiate elements in raw data. You can choose Semi-colon, Comma, or Tab.
- Click Download CSV file.
- Name the file LightspeedProductDownload.csv, and then save the file to your computer.
R-series product data
- From your Lightspeed R-series admin, go to Inventory > Item Search.
- Optional: You can filter the data that you want to export using the search filters. Click Search to apply the filters. Only the products in the search are exported.
- Click Export.
- Name the file LightspeedProductDownload.csv, and then save the file to your computer.
2. Edit your product data export
Edit your CSV file before importing to Shopify:
- Get Shopify's product CSV template.
- Create a new tab in your LightspeedProductDownload.csv file.
- Copy Shopify's column headers into the new tab.
- Copy your Lightspeed data into those columns.
- Remove the extra tab before importing.
When using the sample file, review these details:
- The file includes example products and variants - you must remove all of these before using it for your import.
- For inventory:
- Single location stores: Use the "Variant Inventory Qty" column.
- Multiple locations: Use a separate inventory CSV file instead.
- International pricing columns ("Price/International" and "Compare At Price/International") are included but left blank by default. Only fill these if you have special international pricing needs.
You can edit your CSV using Google Sheets, Microsoft Excel, or Numbers.
Review the data type mapping between Lightspeed X-series and Shopify columns. While some columns will map directly between the two systems, Shopify's product CSV includes additional columns not present in your Lightspeed export. These extra columns aren't listed in the mapping but may need your attention.
X-series data
| Lightspeed Data Type | Shopify Data Type | Action |
|---|---|---|
| handle | Handle | Change column name to Shopify data type. Edit the Lightspeed handle to ensure that it conforms to Shopify’s requirements. |
| Name | Title | Change column name to Shopify data type. |
| description | Body (HTML) | Change column name to Shopify data type. |
| supplier_name | Vendor | Change column name to Shopify data type. |
| product_category | Product category | This column should contain values from Shopify’s standard product categories. Learn about Shopify’s product taxonomy. |
| tags | Tags | Change column name. |
| variant_option_one_name | Option1 Name | Change column name to Shopify data type. |
| variant_option_one_value | Option1 Value | Change column name to Shopify data type. |
| variant_option_two_name | Option2 Name | Change column name to Shopify data type. |
| variant_option_two_value | Option2 Value | Change column name to Shopify data type. |
| variant_option_three_name | Option3 Name | Change column name to Shopify data type. |
| variant_option_three_value | Option3 Value | Change column name to Shopify data type. |
| sku | Variant SKU | Change column name to Shopify data type. |
| track inventory | Variant Inventory Tracker | Include your inventory tracking for this variant or product. Use the following values to update the column: shopify, shipwire, amazon_marketplace_web, or blank if inventory isn’t tracked. |
| inventory_Main_Outlet | Variant Inventory Qty | Change column name to Shopify data type. |
| retail_price | Variant Price | Change column name to Shopify data type. |
| supply_price | Cost per item | Change column name to Shopify data type. |
| active | Status | Indicates whether a product is available to your customers. Ensure your import contains only the following values: • active: the product is active and ready to be sold • draft: the product is a draft and needs to be completed • archived: the product is archived and no longer available to sell |
E-series data
| Lightspeed Data Type | Shopify Data Type | Action |
|---|---|---|
| Product name | Title | Change column name to Shopify data type. |
| Description | Body (HTML) | Change column name to Shopify data type. |
| Brand | Vendor | No action needed. Column names match. |
| Categories | Product Category | This column should contain values from Shopify’s standard product categories. Learn about Shopify’s product taxonomy. |
| SKU | Variant SKU | Change column name to Shopify data type. |
| Weight | Variant grams | Change column name to Shopify data type and convert the weight to grams. |
| Quantity | Variant Inventory Qty | Change column name to Shopify data type. |
| Price | Variant Price | Change column name to Shopify data type. |
| "Compare to" price | Variant Compare At Price | Change column name to Shopify data type. |
Review R-series data
| Lightspeed Data Type | Shopify Data Type | Action |
|---|---|---|
| Item | Title | Change column name to Shopify data type. |
| Vendor | Vendor | No action needed. Column names match. |
| Category | Product Category | This column should contain values from Shopify’s standard product categories. Learn about Shopify’s product taxonomy. |
| Custom SKU | Variant SKU | Change column name to Shopify data type. |
| Qty. | Variant Inventory Qty | Change column name to Shopify data type. |
| Price | Variant Price | Change column name to Shopify data type. |
| Tax | Variant Taxable | Indicates whether the variant is taxable. Use the following values to update the column: true or false. |
3. Import your product data
Once you've edited your LightspeedProductDownload.csv file, you're ready to import your products into Shopify.
- From your Shopify admin, go to Products.
- Click Import.
- Click Add file, and then select the LightspeedProductDownload.csv.
- Deselect Publish new products to all sales channels, and then click Upload and preview.
Check the import details, then click Import products. Shopify will send a confirmation email to your store account's email address.
After importing, check that everything is transferred correctly. Look at important details like prices, weights, and inventory counts. Some common issues you might encounter:
| Problem | Solution |
|---|---|
| Products are imported, but not published. | Make them available to your sales channels. |
| Products are missing details. | Review the product description and fill in the missing information. |
| Product variants didn’t import | Add the product to your store manually. |
Next:
- Review your product details, like description, images, variants, price, and meta description.
- Create product collections so they are easier to find.
4. Export your customer data from Lightspeed
Similar to your product data, the customer data export process depends on which Lightspeed series you use.
X-series
- From your Lightspeed X-series admin, go to Customers > Customers.
- Click Export list.
- Name the file LightspeedCustomerDownload.csv, and then save the file to your computer.
E-series
- From your Lightspeed E-series admin, go to Sales > Customers.
- Click Import or Export Customers, and then do either of the following:
- To export the full customer list, click Export Customers.
- To export only selected customers, click Export Selected.
- In the dialog, select the Delimiter from the dropdown menu. You can choose Semi-colon, Comma, or Tab.
- Click Download CSV file.
- Name the file LightspeedCustomerDownload.csv, and then save the file to your computer.
R-series
- From your Lightspeed R-series admin, go to Customers > Customers.
- Optional: You can filter the data that you want to export using the search filters. Click Search to apply the filters. Only the orders in the search are exported.
- Click Export.
- Name the file LightspeedCustomerDownload.csv, and then save the file to your computer.
5. Edit your customer data
You won’t be able to import LightspeedCustomerDownload.csv into Shopify without editing CSV first. Download the customer CSV template and then edit your Lightspeed CSV to match the columns.
💡Make sure your file matches Shopify's layout exactly. Your file must have the same headings as the customer CSV template. There is no data mapping support for customer CSV imports.
6. Important your customer data to Shopify
- From your Shopify admin, go to Customers.
- Click Import.
- Click Add file, and then select the LightspeedCustomerDownload.csv.
- Click Import customers.
- Review the details about the import, and then click Import customers.
- Review customer import summary, and then click View all customers.
7. Import your reviews to Shopify
You can’t migrate reviews from Lightspeed to Shopify natively. But you can add them using the following apps from the Shopify App Store:
8. Export your order history from Lightspeed
The order history export process depends on the Lightspeed series you use. For R-series, use one of the following apps:
X-series
- From your Lightspeed X-series admin, go to Sell > Sales history.
- Optional: You can filter the data that you want to export using the search filters. Click Search to apply the filters. Only the orders in the search are exported.
- Click Export list.
- Name the file LightspeedOrdersDownload.csv, and then save the file to your computer.
E-series
- From your Lightspeed E-series admin, go to My Sales > Orders.
- From the Export orders section, do either of the following:
- To export the full customer list, click Export All.
- To export only selected customers, click Export Selected.
- In the dialog, do the following:
- Select the Delimiter from the dropdown menu. You can choose Semi-colon, Comma, or Tab.
- Select the order data that you want to download. You can choose All, All but item details, and None.
- Click Download CSV file.
- Name the file LightspeedSalesDownload.csv, and then save the file to your computer.
9. Import your order history to Shopify
Use one of three apps to import your order history to Shopify:
Post-migration setup
After migrating your data, you can now set up your online store and start selling.
- Customize your store
- Set up payments
- Prepare your shipping options
- Set up taxes
Customize your store
Your store comes with a free Shopify theme, but you can customize it or pick a different theme. Choose from Shopify's free themes or buy one from designers in the Theme Store.
Before buying, you can test themes by previewing them with your products and colors, making changes in the editor, and comparing up to 80 different themes.

Set up payments
To accept credit card payments, you'll need a payment provider. You can use Shopify Payments if available in your country, or choose a third-party payment provider.
Using Shopify Payments saves you money on transaction fees, and you can track all your payments directly in your Shopify dashboard.
Activate Shopify Payments in your admin and choose how to capture payments in your store. After, you’ll need to set up your checkout to process orders:
- Set up order fulfillment.
- Add your store policies.
- Edit your checkout’s customer information settings.
Prepare your shipping options
Set your shipping prices and options before selling. This prevents you from having to give refunds for overcharging or ask customers for more money if you undercharged.
- Check your store's address is correct to get accurate shipping rates. Add any other places you ship from.
- Choose where you'll ship to (like which countries or states).
- If you use shipping companies to calculate rates, add your package sizes. They often need the height, width, and depth to figure out costs.
- Set your shipping prices for each area you'll ship to.
- Choose how you want to handle shipping for your business. Look at different options to find what works best for you.
- Decide if you'll pack and ship orders yourself or use a fulfillment service that does it for you.
Set up taxes
Sales tax rules vary by location. Check how to set up taxes in Shopify before you start selling. Shopify can automatically add the right tax based on where your customers live, and you can manually adjust rates if needed.
👉 Make tax season easier with Shopify Tax's automated calculations, tracking, and filing, all from your admin dashboard. Use Shopify Tax to save time, ensure compliance, and get back to growing your business.
Staff accounts and permissions
Give your store staff their own logins for your POS and online store. You can control what parts of your store each person can see and use, keeping your sensitive information secure.

Domain setup and redirects
Disconnect any existing domains you want to transfer from Lightspeed's settings.
Follow these steps to add your domain to Shopify. Note the following:
- You can use your old web address, but page links will be different in Shopify. For example, if your shipping policy was at "example.com/policies/shipping-policy", in Shopify it might be "example.com/pages/shipping-policy".
- Before moving, set up redirects for your old page links. This way, when customers use old bookmarks or links, they'll go to the right page instead of seeing an error.
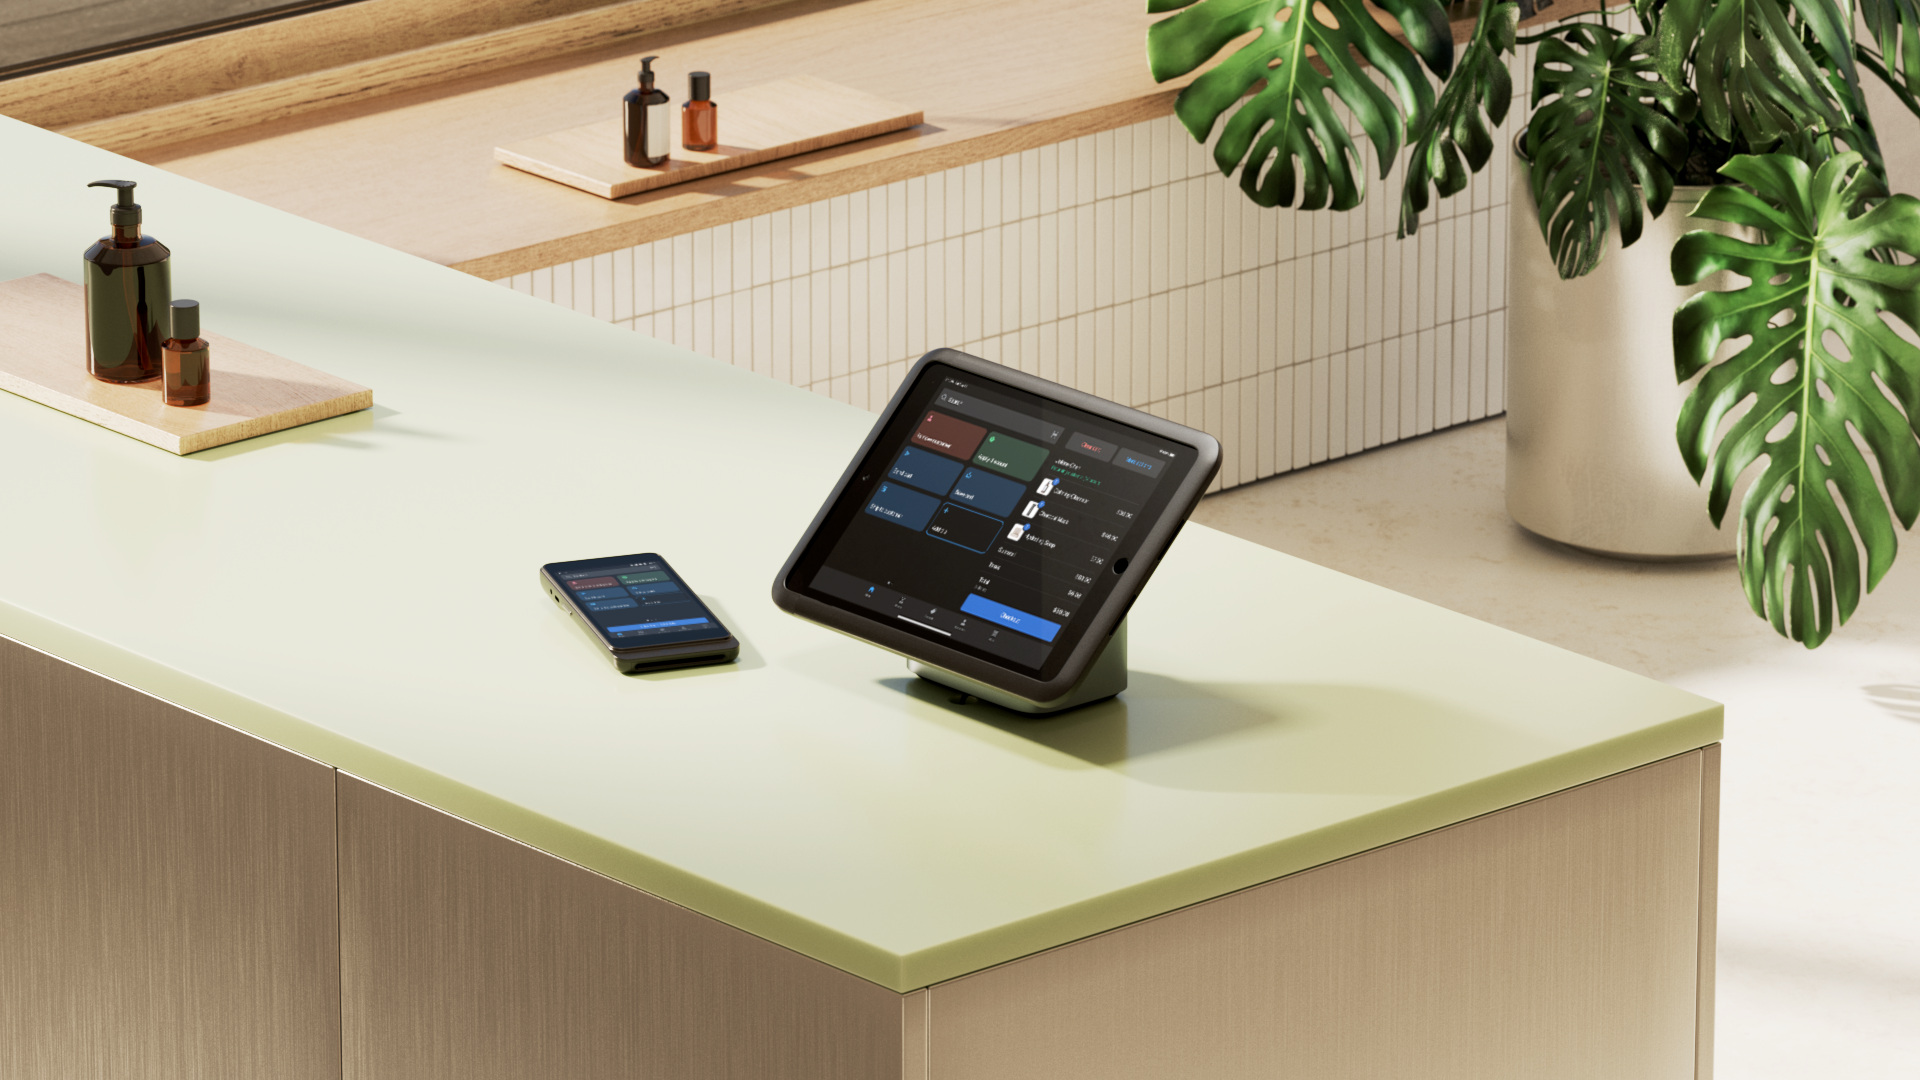
Point of Sale (POS) migration
A slow or outdated POS system can hurt your business. If your POS doesn't connect with all your other business tools, it's causing more problems than it fixes.
But by planning carefully and avoiding common mistakes, you can migrate from Lightspeed to the Shopify POS system without disrupting your business.
Below is a brief overview of the key considerations to help you plan effectively.
Add Shopify POS as a sales channel
If you sell in person at a store or events, use Shopify POS. Add it as a sales channel to your Shopify admin to sell the same products you have online.
- From your Shopify admin, go to Settings > Apps and sales channels.
- Click Shopify App Store.
- Search in the Shopify app store for "Point of Sale".
- Click Point of Sale.
- Click Install.
- In your Shopify admin, to accept the data access, click Install.
Choose a plan and download the Shopify POS app
Shopify offers two plans:
- POS Lite (free with Shopify plans): Perfect for markets and pop-ups
- POS Pro (monthly fee): Best for retail stores, includes advanced features like staff management and detailed reporting
After, download the Shopify POS app from App Store (iOS) or Google Play Store (Android). Log in with your Shopify credentials.
Understand your hardware requirements
When migrating from Lightspeed to Shopify POS, some of your current equipment might still work with Shopify. Check the "Supported POS hardware" list to see which equipment you can keep using.
If you are buying new POS hardware, what you need depends on where you sell:
- If you run pop-up shops or events, you'll need a device and card reader.
- If you have a store, you'll need a device, card reader, and receipt printer.
- If you have multiple stores or a warehouse, you'll need all of the above, plus a barcode scanner and cash drawer.
After you receive your hardware, you can connect it to your Shopify POS app.
- From Shopify POS, tap ☰ > Connectivity.
- Tap Set up hardware.
- On the Set up hardware page, tap the type of hardware that you're adding. For example, if you're adding a card reader, then tap Card reader.
- Follow the prompts to connect your hardware.
Set up payment methods
If you’ve already set up Shopify Payments earlier, you need to activate it in your Shopify POS app.
- From Shopify POS, tap ≡ > Settings > Payment types.
- In the Default payment types section, verify that the Credit/Debit option displays Accepted.
You can also process contactless payments on your iPhone or Android device with Shopify Tap to Pay. Learn more about how to:

Add POS staff
There are two main ways to add staff to your Shopify POS system.
- Admin: These are for employees who need POS access but also might need access to other Shopify features. Think of store managers or full-time employees who might need to do more than just run the register.
- POS-only: Available if you have Shopify POS Pro. This option is for employees who only need to use the point-of-sale system, like cashiers or sales floor staff.
👉 Learn how to add POS staff to your new device.
Sync inventory
Download Stocky by Shopify to manage your inventory. You’ll get access to the following features:
- Make stock adjustments
- Manage low stock products
- Print labels with Dymo Label Printing software
- Receive stock transfers in POS with a barcode scanner
- Create and manage purchase orders
- Demand forecasting
- Conduct stocktakes
- Stock transfers
Setup fulfillment options
Shopify offers flexible fulfillment options to help you serve your customers better, whether they prefer picking up orders in-store or having items shipped to their door.
Pickup in store
Let customers pick up their online orders at any location with in-store or curbside pickup. Set the pickup in-store location by following these steps:
- From your Shopify admin, go to Settings > Shipping and delivery.
- In the Pickup in store section, click Set up or the › icon.
- In the Your locations section, select a location that you want to set up in-store pickup for.
- Select This location offers in-store pickup.
- In the Expected pickup date section, select a processing time for in-store pickup from the dropdown menu. This information is displayed to your customers.
- In the Order ready for pickup notification section, enter pickup instructions for your customers. This field replaces any customizations that you have in the email_body variable in the Ready for pickup notification template.
- Click Save.
Shipping from store
If you have Shopify POS Pro, you can ship items from your store to customers. When a customer wants an item delivered (instead of taking it home from your store), you can add their items to cart, enter their shipping address, and choose from available shipping rates based on your settings.
Run your store more efficiently with Shopify
Moving to Shopify transforms your retail operation from a collection of parts into a single powerful engine. By unifying all your sales channels, inventory, and customer data in one seamless platform, you'll gain the agility to grow without the growing pains.
While migrating from Lightspeed requires some upfront effort, the benefits of a truly connected system will transform how you operate. Make the switch to Shopify and join the retailers who are already delivering the connected shopping experiences customers expect.